Do you use my cookie tray activities in your classroom? I wanted to share some tips with you for prepping these activities. It is a little time consuming for me in the beginning, all of the printing, cutting, laminating, and applying the magnets, but you only have to do it once right?
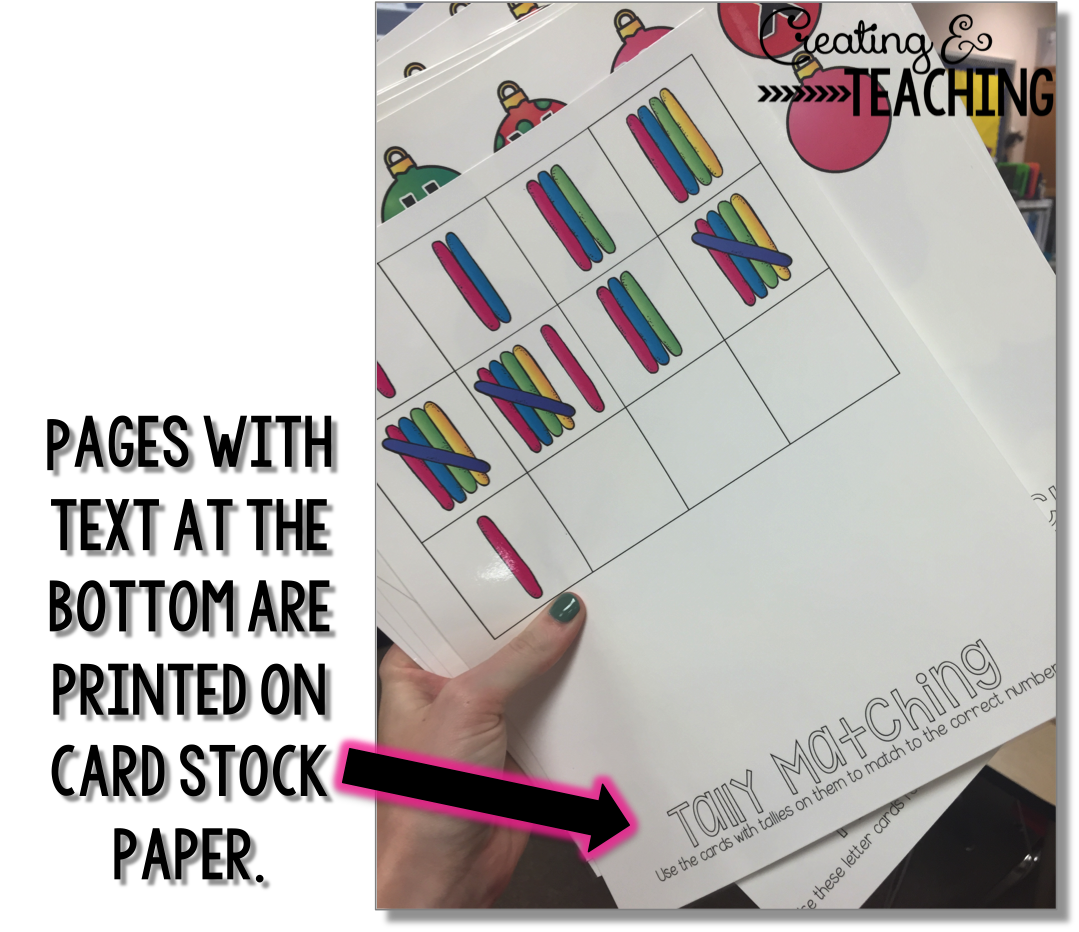
I print all of the pages that go ON the cookie tray, on standard printer paper. Then I print all of the pieces that require magnets to apply to the trays on card stock paper. To help go through the file and know what needs to be printed on standard paper and on card stock, there's a formatting trick! (Maybe you've picked up on this by now!)
I buy my magnets at Walmart. In the craft isle you can buy a back with 18 strips inside. They are adhesive on the back and I cut the strips into smaller pieces to fit the size of the item I am using it on. The best part-- each back is .97 cents! I usually open up a pack and cut it all at once and store it in a container so that when it's time to prep that step is done and it's quick to apply the magnets. The large magnetic buttons I purchased just in case I ever needed them. I applied these to back of some foam geo-blocks, since those are larger and heavier than paper. It worked great!
AND if you follow me on instagram you picked up on this trick already! I print the cover to each cookie tray packet and laminate it onto a large envelope. Then I store everything inside. The pieces simply go into a baggy by activity and all the pages slide right in. Perfect organization!
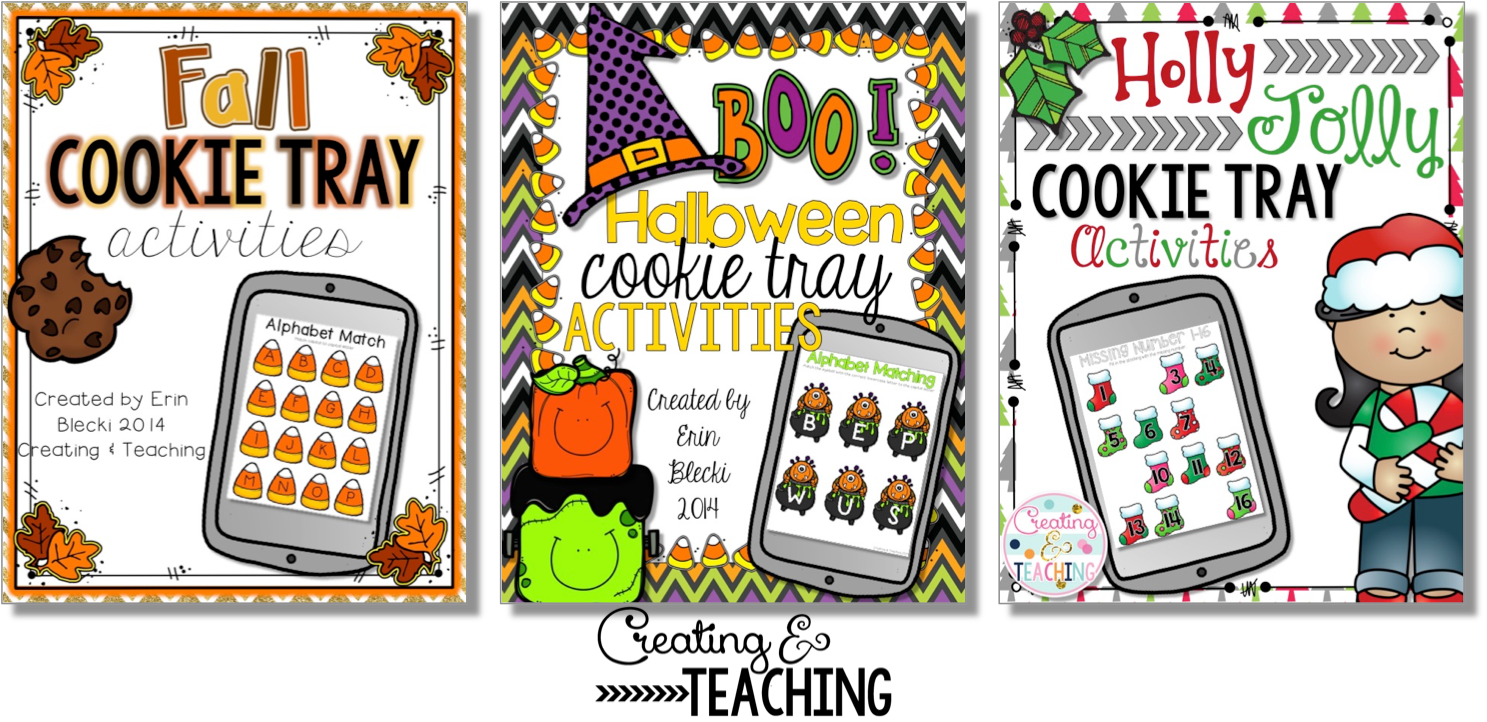
I currently have 3 different themed cookie tray packs in my TpT store. Click on the images below to find them in my TpT store!


No comments
Post a Comment